


While many scanners claim mobility, the harsh reality of field work, unpredictable lighting, challenging surfaces, and demanding environments can quickly expose their limitations.
The precise, controlled conditions of a lab vanish the moment you step outdoors, turning what should be a straightforward scan into a frustrating exercise in compromised data or outright failure. Standard product reviews rarely delve into these real-world pressures.
This guide goes beyond marketing claims. We'll explore how a truly field-ready metrology 3D scanner confronts these challenges head-on. Specifically, we'll examine how the EinScan Rigil, with its advanced capabilities, stands up to the rigors of outdoor and industrial applications, delivering reliable, high-accuracy 3D scanner data even in the most demanding conditions.
Key Takeaways You'll Learn:
|
How Do We Compare 3D Scanners for Real-World Outdoor and Industrial Performance?
When evaluating a portable handheld 3D scanner for real-world field applications, standard specifications only tell part of the story. To provide a truly analytical assessment, we've developed a unique scoring system that evaluates a scanner's performance across five critical pillars of field readiness.
Based on extensive field testing and technical analysis, the EinScan Rigil achieves an exceptional score.
The following sections will break down exactly why the EinScan Rigil achieved these impressive scores, detailing its core technologies and how they directly address the challenges of complicated field scanning.
We will explain how each pillar contributes to making the Rigil a leading high-accuracy 3D scanner for outdoor and automotive aftermarket.
Deeper Exploration of EinScan 3D Scanner for Outdoor 3D Scanning
Achieving reliable 3D scan data in uncontrolled environments requires specialized technology designed to overcome specific challenges. Here, we break down three core pillars of field performance and explain how the EinScan Rigil excels in each, earning its high marks.
The Accuracy in Uncontrolled Environments (Rigil Score: 19/20)
A high-accuracy 3D scanner is defined by its ability to deliver precise measurements consistently (for what is accuracy).
SHINNING 3D has been following the strict VDI/VDE 2634 standard, aiming to get the "accuracy of aligned data" rather than "single frame accuracy", which means our listed accuracy can be reached in a single scan, not the result of perfectly stitched scanned frames.
* Click here to learn how SHINNING 3D measures the accuracy.
The challenge in the field is maintaining this precision amidst vibrations, temperature fluctuations, and varied operator handling.
The EinScan Rigil directly addresses this with its robust design and advanced algorithms. It boasts a stunning accuracy of up to 0.04mm + 0.06mm/m (Volumetric Accuracy in Laser HD Scan Mode). This is achieved through:

- High-Precision Camera System: Equipped with two 2.3MP 3D cameras and one 5MP texture camera, capturing rich detail for precise reconstruction.
- Laser HD Scan Mode: This mode offers a high resolution with a point distance of 0.05 ~ 10 mm, ensuring fine details are captured accurately.
- Advanced Alignment Modes: Supports flexible alignment strategies including Global Markers, Markers, Features, and Hybrid modes, ensuring robust tracking even in challenging field conditions.
Mastering "Impossible" Surfaces: Dark & Reflective Performance (Rigil Score: 20/20)
Scanning surfaces that are very dark, highly reflective (like chrome or polished metal), or transparent has historically been the bane of 3D scanning. These surfaces either absorb laser light, causing data dropouts, or reflect it chaotically, creating noise and inaccuracies.

The EinScan Rigil’s perfect score here comes from its innovative use of blue laser technology and robust scan modes that can
- Powerful Laser Sources: The Rigil features 19+19 crossed blue laser lines and 7 blue laser parallel lines, offering superior penetration and reflection handling compared to traditional lasers. This advanced laser setup is what makes it a premier 3D scanner for dark reflective surfaces.
- Exceptional Scan Speed for Laser HD Mode: Boasting a scan speed of 4,400,000 points/s (using 19 crossed laser lines), it rapidly acquires dense and clean point clouds, minimizing the impact of environmental factors and reducing the need for scanning spray for most surfaces.
- Optimized Resolution: The Laser HD mode provides a resolution down to 0.05 mm, allowing for incredibly fine detail capture even on intricate dark or reflective features.
Can You 3D Scan in Sunlight? (Rigil Score: 19/20)
This is arguably the most frequently asked question for any portable handheld 3D scanner intended for outdoor use.
The sun's intense light interferes with the scanner's projected patterns, leading to noisy data, misalignments, or complete failure to capture.

The EinScan Rigil is engineered to directly tackle this environmental challenge:
IR VCSEL Light Source (IR Rapid Mode): Beyond its blue lasers, the 3D scanner also features an IR VCSEL light source for its IR Rapid mode. This Infrared light source is less susceptible to interference from direct sunlight, allowing for robust tracking and data acquisition outdoors.
- Advanced Ambient Light Rejection Algorithms: Beyond hardware, sophisticated software algorithms intelligently filter out noise caused by sunlight, distinguishing genuine surface data from environmental interference. This means you can confidently 3D scan in sunlight without worrying about data quality.
- High-Speed Data Capture: The IR Rapid mode boasts a scan speed of up to 1,600,000 points/s, minimizing the window for environmental interference and ensuring quick, clean scans even when lighting conditions are dynamic.
- Wide Operating Temperature: Designed for real-world conditions, the Rigil can operate in temperatures ranging from -10℃ to 40℃, further enhancing its outdoor versatility.
How to Do Outdoor Scanning with EinScan Rigil
Even with the most advanced high-accuracy 3D scanner, a structured workflow is crucial for optimal results in the field. The EinScan Rigil is designed for intuitive operation, but mastering a few key steps will maximize efficiency and data integrity, especially when you need to 3D scan in sunlight or handle dark reflective surfaces.
Here’s a step-by-step guide to a successful field scanning session with the EinScan Rigil:
Step 1: The 5-Minute Site Survey Strategy
Before you even turn on the scanner, quickly assess your environment.
- Identify the Object: What are its critical features? What level of detail is required?
- Environmental Factors: Note ambient light conditions (is it direct sun, overcast?), potential obstructions, and any moving elements.
- Scanning Strategy: Plan your general scanning path. Will you need to move around the object, or can you capture it from a few fixed positions? This brief strategic pause saves significant time later.
Step 2: Intelligent Marker Placement
Markers are crucial for reliable tracking and alignment, especially for a portable handheld 3D scanner working on large, featureless, or complex objects.
- Density: Aim for approximately 2-3 markers consistently visible in the scanner's field of view at all times, ensuring robust global alignment.
- Pattern for Flat Surfaces: For relatively flat or planar objects (e.g., large sheet metal, floors), distribute markers evenly across the surface.
- Pattern for Complex Objects: For intricate or organic shapes, place markers strategically around key features, edges, or curvature changes. Avoid placing markers in areas that will be obscured during the scan. Use varying sizes if necessary for scale.
Step 3: On-Scanner Environmental Calibration
The EinScan Rigil's advanced hardware and software allow for quick adaptation to the scanning environment.
- Quick Calibration: Utilize the scanner's integrated calibration routine (usually a quick scan of a checkerboard pattern). This recalibrates the optical system to the current ambient light and temperature conditions.
- Mode Selection: Select the appropriate scan mode (e.g., Laser HD for the highest accuracy on intricate parts, IR Rapid for faster acquisition on larger objects, or in challenging lighting where a 3D scan in sunlight is a concern). This optimization ensures the scanner is set up for optimal performance in its immediate surroundings.
Step 4: The "Painting" Pass: Scanning Technique
The scanning technique significantly impacts data quality. Think of it like spray painting the object with light.
- Smooth, Consistent Motion: Maintain a steady hand and a consistent distance from the object. The Rigil's working distance of 170 ~ 550 mm (Laser HD) or 160 ~ 1500 mm (IR Rapid) provides good flexibility.
- Optimal Angle: For most surfaces, maintain an angle of approximately 45 degrees to the surface.
- "For highly reflective surfaces, maintain a consistent 45-degree angle to minimize direct specular reflections back into the sensor. For deep crevices or undercuts, use the 'edge-first' technique: angle the scanner to capture the edges first, then fill in the deeper areas."
- Generous Overlap: Ensure ample overlap (at least 30-50%) between passes to facilitate accurate stitching and reduce data gaps.
- Slow Down for Detail: For areas requiring very high detail (e.g., small features, engraved text), slow down your scanning motion in Laser HD mode.
Step 5: Live Data Integrity Check
The portable 3D scanner’s integrated screen allows for real-time feedback.
First, regularly check the live point cloud data on the scanner’s display. You can look for:
- Good Data: Dense, uniform coverage without large gaps or excessive noise.
- Bad Data: Patchy areas, misalignments (if textures are visibly jumping), or large amounts of stray points.
If you identify any problematic areas, immediately rescan that section. The Rigil’s robust tracking will allow you to re-align and fill in the missing data. This immediate feedback prevents the need to return to the site later.
Step 6: On-site Stitching Alignment
For larger objects or multiple scanning passes, on-site stitching is crucial.
- Software Integration: If using a connected PC (PC-Wireless/PC-Wired work mode), utilize the accompanying software's real-time stitching capabilities.
- Verification: After stitching, rotate and inspect the combined point cloud. Ensure there are no significant misalignments or accumulated errors.
Step 7: The "Go/No-Go" Data Validation
Before packing up and leaving the site, perform a final, critical data validation.
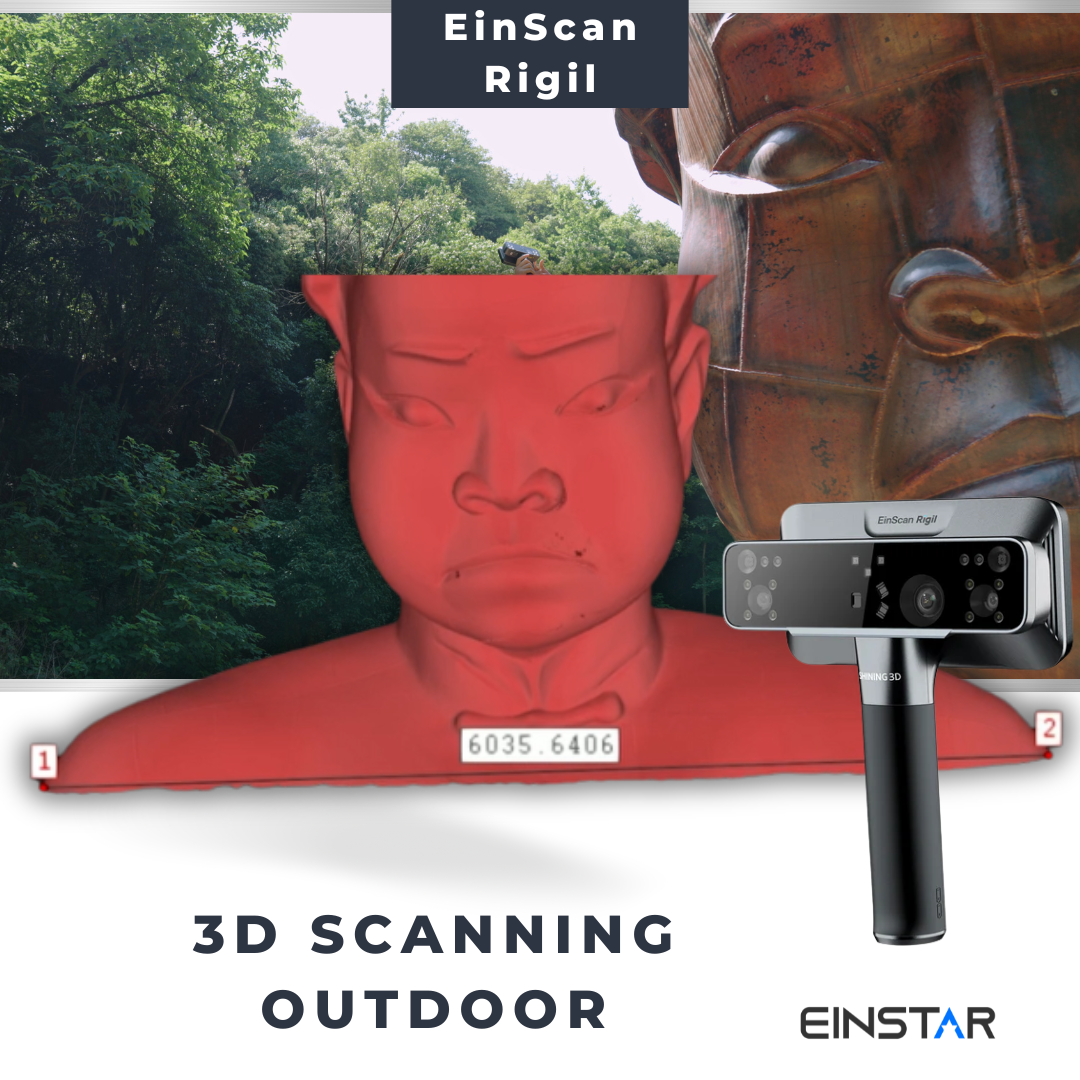
Field Test Case Study
Theory and specifications are crucial, but the ultimate test of a handheld 3d laser scanner is its performance on a real-world project. To validate the EinScan Rigil's field readiness, we undertook a common yet challenging task: digitizing a sculpture outdoors, on-site, with no environmental controls.
Share:
How to activate EXModel Personal's one-year trial
Advanced Maker's Guide: Handheld 3D Scanners and Rapid Prototyping