









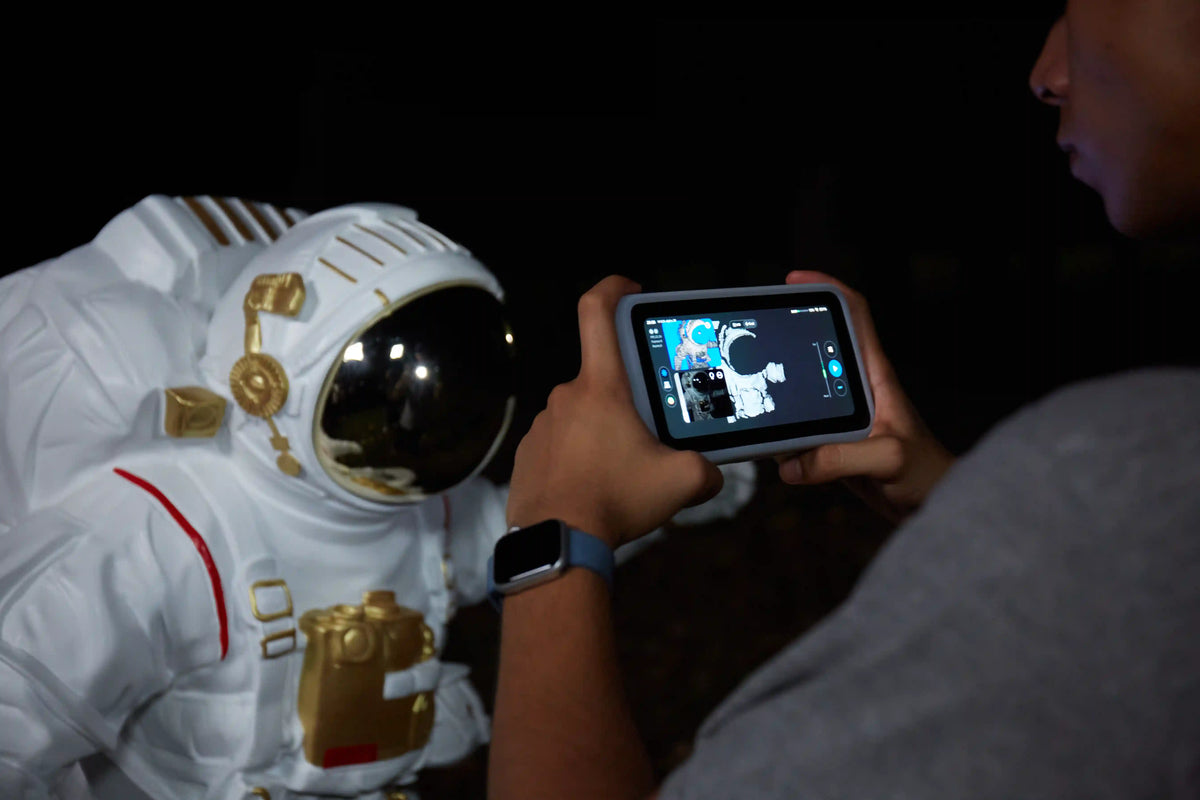
A 3D scan can have excellent geometry and still look unrealistic if the texture quality is poor. Blurry labels, inaccurate colors, visible seams, and uneven shading are common frustrations in color 3D scanning. In most cases, these issues are not caused by a single factor. Object preparation, lighting conditions, scanning technique, RGB image capture, and texture mapping all affect the final result. Understanding how each stage influences scanning texture quality can help you create more realistic and reliable textured 3D models.
Why Color Texture Quality Matters Across Applications
Color information often determines how realistic and useful a 3D model appears. While geometry defines shape, textures communicate surface appearance, material characteristics, and visual details.
E-Commerce and Realistic Product Visualization
In product visualization, customers often notice color and surface finish before dimensions. If a texture map fails to preserve logos, printed graphics, or material patterns, the model may appear less accurate than the real object.
Strong color texture capture helps retain branding elements, surface markings, and visual details that would otherwise require additional photography.
Digital Archiving, Cultural Heritage, and 3D Modeling
Many digital preservation and modeling projects require both geometric and visual information. Surface wear, painted decorations, and inscriptions may contain important details that are difficult to represent through geometry alone.
Accurate textures help preserve these characteristics, making textured 3D models more representative of the original object.

Common Texture Quality Issues and Root Causes
Most scanning texture problems can be traced to data capture conditions, image quality, or texture mapping errors.
Blurry or Low-Resolution Surface Details
Cause: Excessive scanning distance, rapid movement, or insufficient image overlap.
Impact: Fine details such as labels, engravings, and patterns become difficult to read.
Recommendation: Maintain a consistent scanning distance and move steadily around the object to capture enough image data for high-resolution texture generation.
Color Discoloration and Uneven Shading
Cause: Mixed lighting environments or changing exposure conditions during scanning.
Impact: Different sections of the model may display inconsistent colors or brightness levels.
Recommendation: Use stable lighting with a consistent color temperature throughout the capture session.
Visible Seams and Texture Misalignment
Cause: Tracking interruptions, incomplete coverage, or inaccurate texture alignment.
Impact: Abrupt color transitions and broken surface patterns become visible after texture mapping.
Recommendation: Capture overlapping views from multiple angles and verify tracking stability during scanning.
Preparing the Object for Accurate Color Capture
Object preparation directly affects both geometry reconstruction and overall scanning texture quality.
Managing Glossy, Reflective, or Transparent Surfaces
When scanning reflective surfaces, highlights can be mistaken for actual color information. Transparent materials often produce inconsistent visual data because light passes through them rather than reflecting from the surface.
These conditions can lead to texture artifacts, inaccurate colors, and inconsistent texture maps.
To reduce problems:
- Use diffuse lighting
- Minimize direct reflections
- Avoid scanning transparent areas when possible
- Increase image coverage around difficult surfaces
Maintaining Target Stability During Data Capture
Even slight object movement can affect texture alignment.
When an object shifts during scanning, RGB images may no longer match the geometric mesh accurately. The result is often blurred markings, duplicated details, or texture ghosting.
A stable support and a stationary target improve both color accuracy and texture fidelity.
Managing Lighting and Environmental Conditions
Lighting has a direct impact on how RGB cameras record color information and surface detail.
Balancing Ambient Room Light and Scanner Illumination
More light does not automatically improve texture quality. Excessive brightness can wash out color information, while insufficient light may increase image noise.
A balanced environment should provide:
- Uniform illumination
- Stable exposure
- Minimal color temperature variation
- Consistent brightness across the object
These conditions help preserve accurate RGB texture data throughout the scan.
Eliminating Hard Shadows and Glare Hotspots
Hard shadows hide visual information that texture mapping software cannot recover later. Glare hotspots may overexpose portions of an image, causing color data loss.
Using multiple diffused light sources instead of a single directional light helps reduce both issues and improves overall color consistency.
Improving Scanning Technique for Clean RGB Data
Even under ideal lighting conditions, poor scanning habits can reduce scanning texture quality.
Maintaining Consistent Stand-Off Distance and Movement Speed
Large changes in distance can affect image sharpness and texture resolution. Moving too quickly may reduce image overlap, limiting the amount of usable color information collected.
A steady scanning pace improves:
- Texture resolution
- Image consistency
- Texture mapping accuracy
Consistent movement often produces noticeably cleaner texture results.
Ensuring Complete Angle Coverage and Tracking Stability
Texture maps rely on visual information collected from multiple viewpoints.
Missing scan angles can leave portions of the model with limited color information, forcing software to stretch nearby textures across uncovered areas. Tracking interruptions can further reduce texture alignment accuracy.
Capturing overlapping views from all accessible angles helps improve texture fidelity and reduce visible artifacts.
Refining Texture Mapping and Post-Processing
High-quality scanning texture results depend not only on data capture but also on how RGB images are processed afterward.
Aligning Color Data with Geometric Meshes
Texture mapping associates RGB images with a geometric mesh. If alignment accuracy is poor, labels, graphics, and surface details may shift away from their correct locations.
Successful texture alignment typically requires:
- Accurate geometry reconstruction
- Reliable image registration
- Stable tracking
- Adequate image overlap
Reviewing alignment quality before export can prevent many common texture issues.
Adjusting Export Settings for Maximum Color Fidelity
Export settings influence how much visual information is preserved.
OBJ and PLY formats can store texture maps alongside geometry. STL files generally retain geometry only and do not support texture information.
Choosing an appropriate texture map resolution and avoiding excessive compression helps preserve texture fidelity in the final model.
How EINSTAR Simplifies High-Fidelity Color Capture
Built-In 48MP RGB Camera for Rich Color Texture Capture
Capturing geometry and color data within the same workflow can simplify textured model creation. EINSTAR VEGA features a built-in 48MP RGB camera, allowing detailed color texture data to be captured alongside geometry during scanning. This helps preserve surface markings, labels, color variations, and other visual details that contribute to more realistic textured 3D models.

For workflows focused on product visualization, digital documentation, and digital asset creation, combining geometry and color acquisition within a single workflow can improve efficiency while maintaining visual consistency.
HD and Fast Modes for Different Texture Capture Needs
Texture quality requirements vary depending on the object being scanned. EINSTAR VEGA provides both HD Mode and Fast Mode, allowing users to prioritize fine surface detail or larger-area coverage based on project needs. Combined with texture acquisition and texture alignment workflows, this flexibility helps support more consistent color texture capture across different scanning scenarios.
Conclusion
Capturing better color textures requires attention to every stage of the workflow. Poor texture quality is often caused by lighting inconsistencies, unstable scanning, incomplete RGB data, or texture mapping errors rather than limitations in geometry capture.
By preparing the object properly, maintaining controlled lighting, collecting complete image coverage, and optimizing texture mapping settings, users can achieve more accurate colors and cleaner surface detail. Integrated workflows supported by tools such as EINSTAR Rockit can further simplify the process of creating realistic textured 3D models.
Ready to explore easier 3D scanning with EINSTAR?
FAQ
1. Can I capture color textures on dark or black surfaces without using scanning spray?
Yes, but dark materials reflect less light, making texture capture more challenging. Use diffuse lighting, avoid underexposure, and collect images from multiple angles. While results can improve significantly, extremely matte black surfaces may still show less texture detail than lighter materials.
2. Why do my scanned colors look washed out compared to the physical object?
This usually results from overexposure, mixed lighting conditions, or automatic white balance adjustments. Consistent lighting and controlled exposure help RGB cameras record more accurate color information and preserve subtle variations in the final texture map.
3. How can I fix overlapping texture seams after exporting the 3D model?
Texture seams often originate from incomplete scan coverage or alignment errors. Reprocessing the texture map, improving image registration, increasing overlap between source images, and verifying mesh alignment can help reduce visible seams and improve texture continuity.
Share:
What Is a 3D Foot Scanner? Applications, Workflows, and Fit Solutions