


By offering a complete solution that lets artists fully utilize 3D technology, the EINSTAR VEGA distinguishes itself by bridging the gap between scanning and printing. This portable 3D scanner makes it simple for users to record fine details, textures, and shapes from their environment and convert them into excellent digital models that are prepared for printing. The EINSTAR VEGA makes the process easy and fun, whether you're a hobbyist starting do-it-yourself projects, a designer exploring new concepts, or an artist looking to duplicate your work.

Preparing for Scanning with the EINSTAR All-in-One Scanner
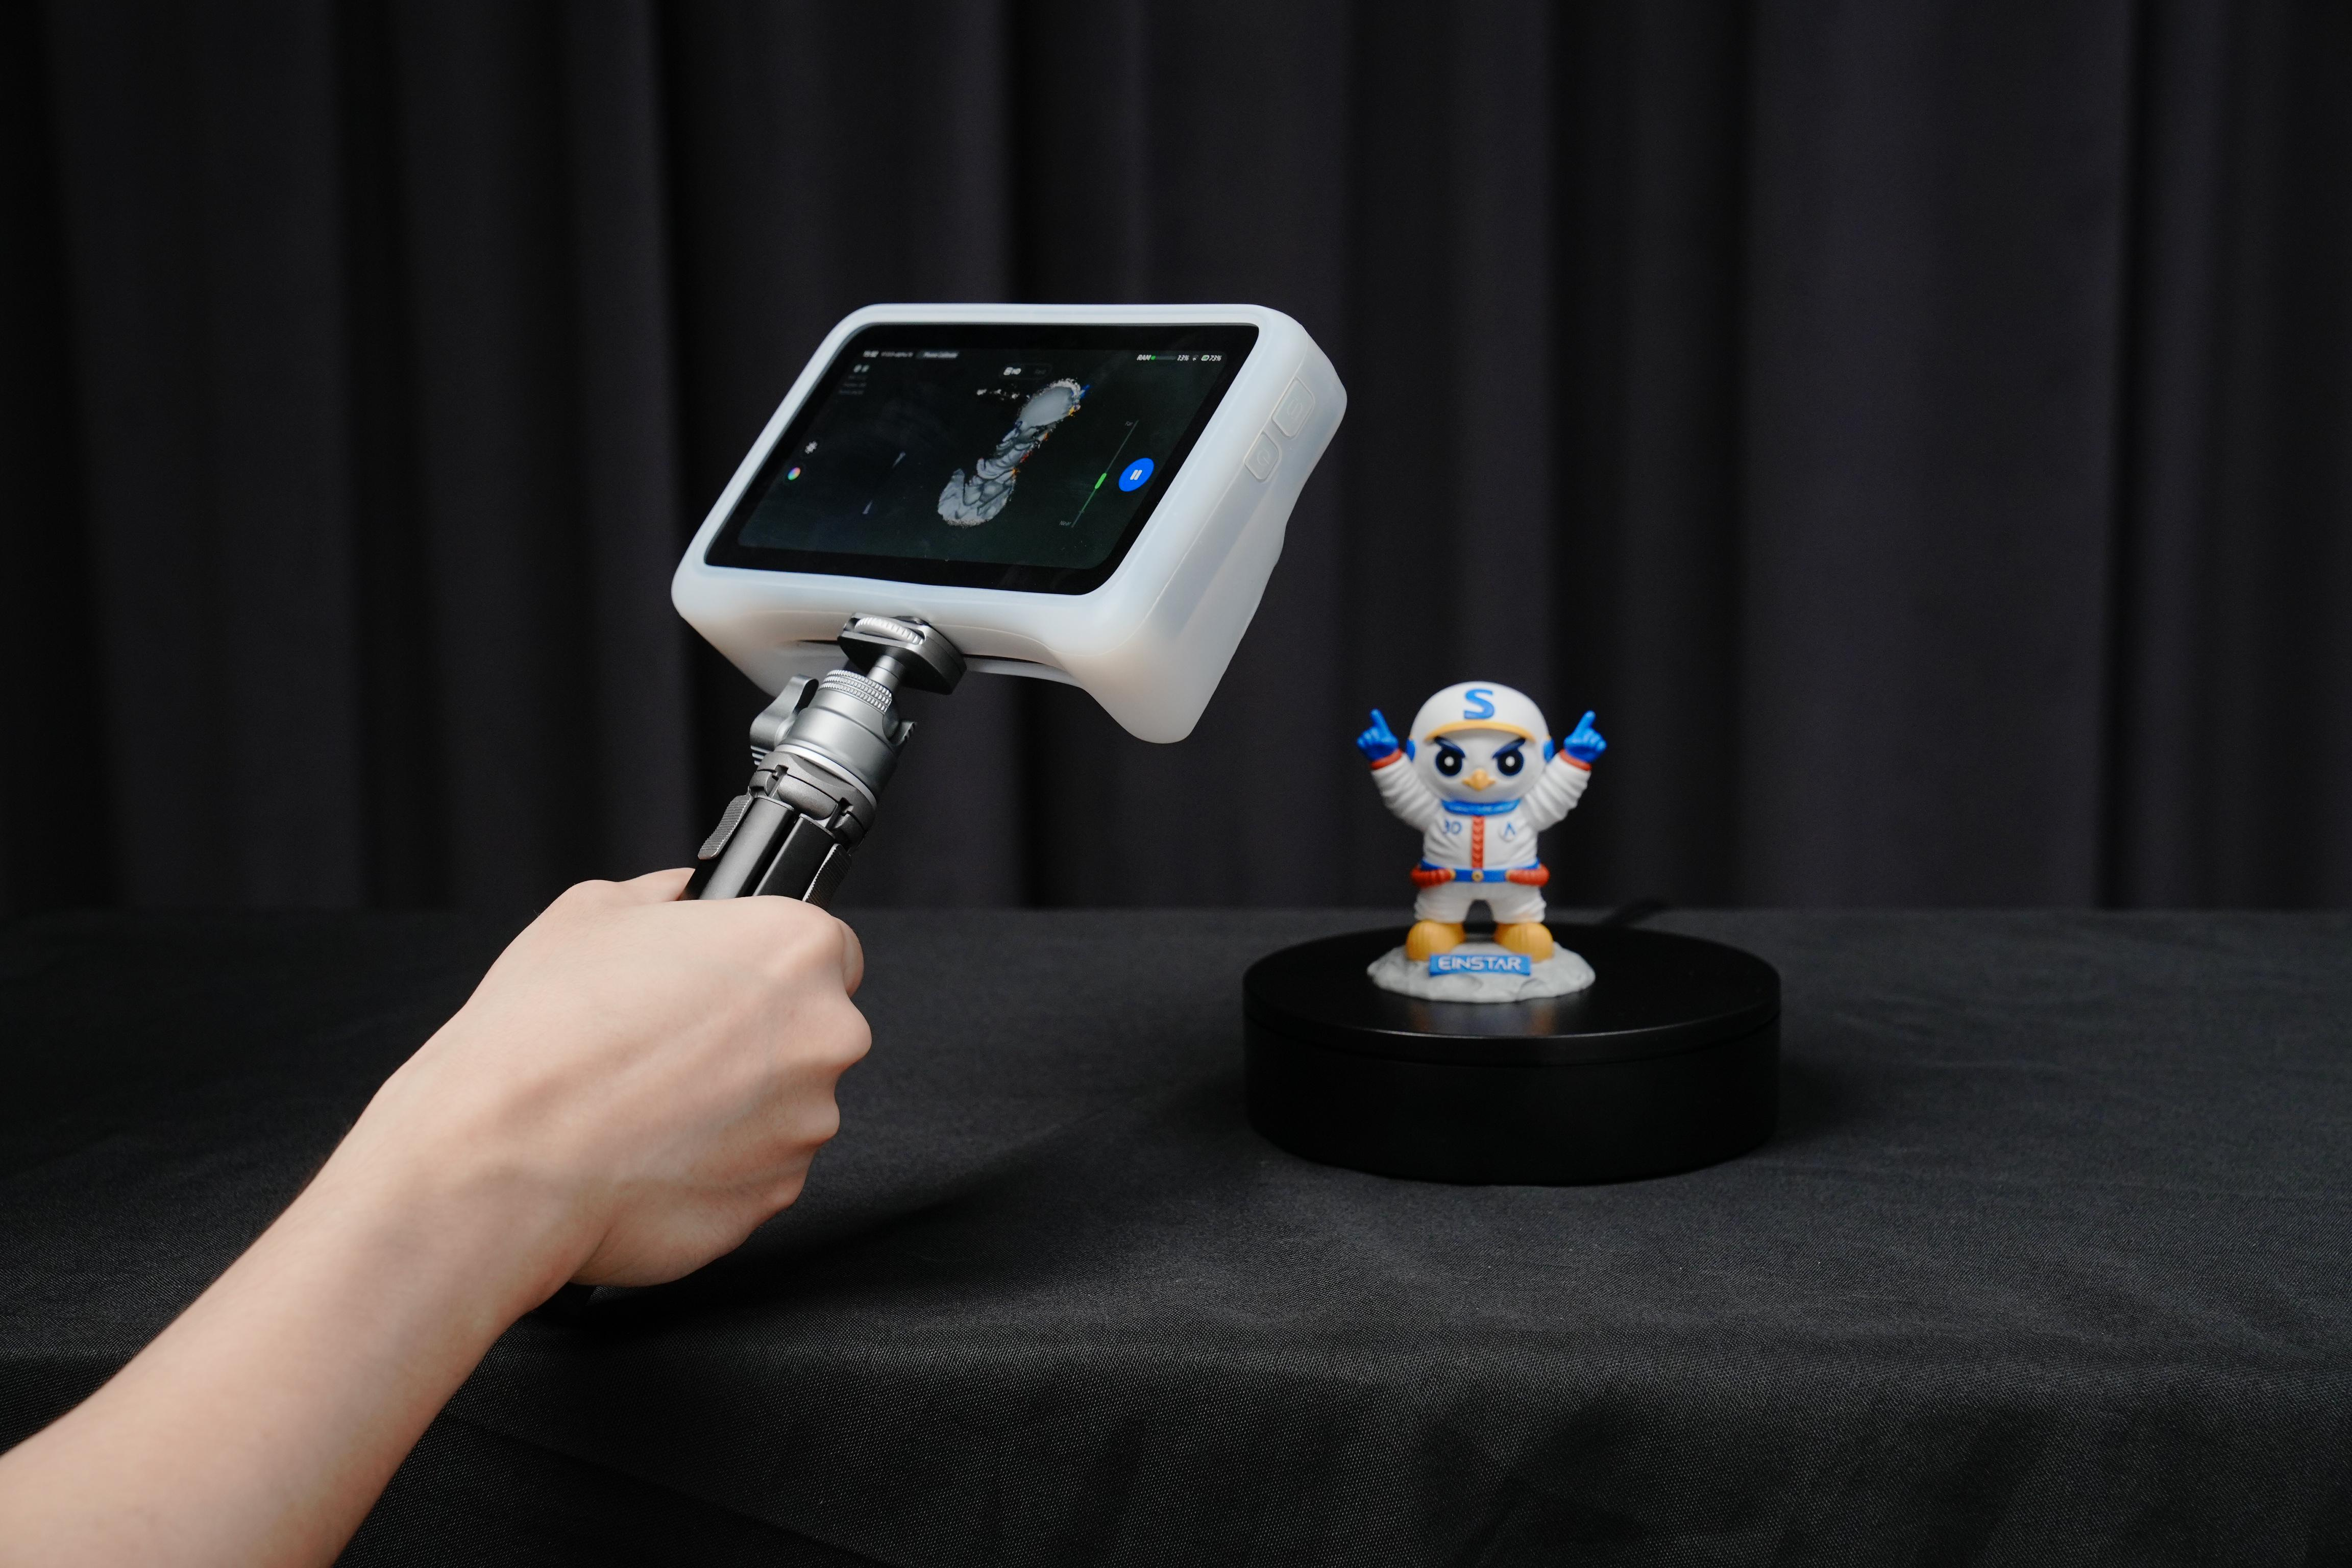
The first step in combining scanning and printing is preparing your workspace and materials. With the EINSTAR all-in-one scanner, having a clear area and the right lighting conditions can significantly impact the quality of your scan. It's essential to choose objects that are suitable for scanning; larger or more complex items tend to work better with our handheld 3D scanner.
Before starting the scanning process, ensure that your item is clean and free from any obstructions. If needed, applying temporary markers or a light coat of powder can enhance the scanner’s ability to capture high-resolution details. Once ready, users can begin the scanning process with ease, allowing the EINSTAR VEGA to create a digital representation of the object.
Scanning Techniques for Effective Results
Users can select from a variety of scanning modes depending on the size and complexity of the object; for smaller items, the HD Mode captures intricate details, working distance 100~350mm for small objects, scanning speed up to 15fps, while the Fast Mode enables quicker scans of larger objects, working distance 270~1500mm for medium to large objects, scanning speed up to 20fps. Knowing various scanning techniques is essential when using the EINSTAR handheld 3D scanner in order to achieve high-quality results.
It is also advisable to walk around the object when scanning instead of keeping it stationary. This movement allows the scanner to capture multiple angles and perspectives, ensuring a comprehensive digital model is created. After capturing the scan, users can review the data and make adjustments as necessary, which is much easier with the intuitive interface of the EINSTAR all-in-one scanner.
Transitioning from Scanning to Printing
Once you have obtained a high-quality scan with your EINSTAR handheld 3D scanner, the next step is transitioning the digital model to a 3D printer. Many compatible software options allow users to refine their scanned models, making them ready for printing. This stage often involves cleaning up the model, removing unnecessary elements, and preparing it for the 3D print process.
The integration of scanning and printing provides immense flexibility in design possibilities. Users can create prototypes, custom designs, or unique art pieces by leveraging the digital model obtained from the scanning process. The entire workflow becomes more efficient, enabling creators to visualize their concepts in physical form without the need for extensive manual modeling.
Conclusion
Using the EINSTAR VEGA all-in-one scanner for both scanning and printing creates a wealth of creative and innovative possibilities. Users may get the most out of their handheld 3D scanner by adhering to reliable practices for setup, scanning, and printing. At EINSTAR, we're committed to offering resources that promote experimentation and aid in realizing imaginative ideas.
Share:
The Comfort and Innovation of the EINSTAR Prosumer Portable 3D Scanner
The Comfort and Innovation of the EINSTAR Prosumer Portable 3D Scanner