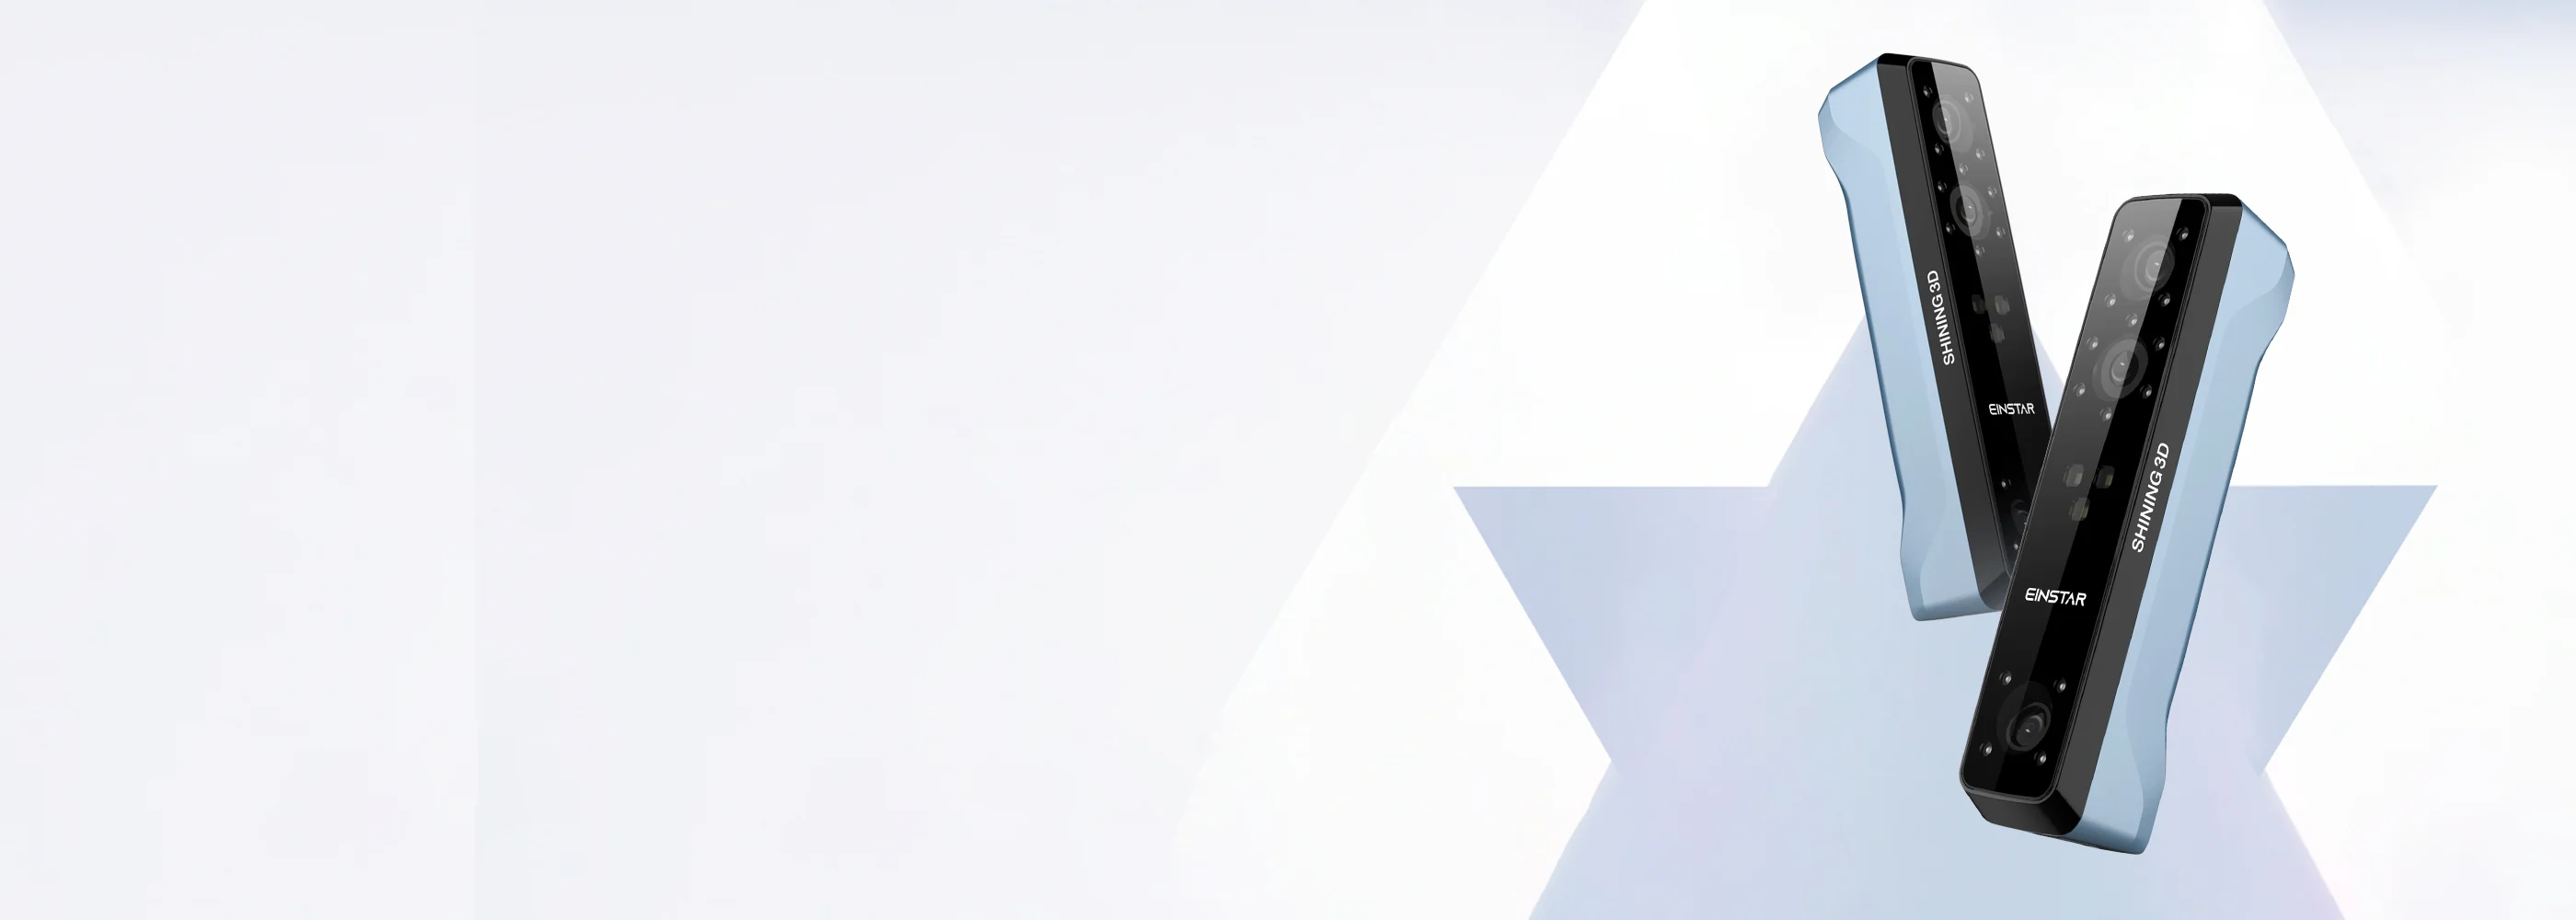
Entering the world of 3D scanning can feel a bit overwhelming at first, especially if you're new to the process or just getting started with your first scanner. At EINSTAR, we've worked to create a device that fits comfortably into the hands of everyday users whether you're a hobbyist, an educator, or someone working in a small creative studio. If you've just picked up an EINSTAR 3D scanner, or are considering one, this guide is designed to help you feel confident as you begin.

Understanding the EINSTAR Scanner's Role
The EINSTAR scanner is designed for consumer use, offering a balance between usability and quality. We don't aim to replace large-scale industrial machines or tools that require complex calibration or advanced setups. Instead, we focus on making high-resolution scanning available to people working on common objects—think handmade crafts, models, or larger workshop components, not items like tiny jewelry or reflective surfaces.
Our goal is to support those who want a straightforward way to turn real-world objects into digital models, whether for 3D printing, archiving, or creative exploration.
Setting Up for the First Time
Unboxing your EINSTAR 3D scanner is a simple and intuitive process. Everything you need to get started is included. Once connected to your computer, the EINSTAR software guides you through basic setup and calibration. We've worked to keep the interface clear and beginner-friendly, so you can focus on scanning rather than navigating overly complex menus.
We recommend starting with an object that has a matte, non-reflective surface and is medium in size, something like a small sculpture, a mechanical part, or a figurine. This will help you get familiar with how the scanner captures depth, texture, and shape.
Tips for Better Scans
Lighting makes a noticeable difference when it comes to scanning. Try working in a space with even, indirect lighting to reduce unwanted shadows or glare. It's also helpful to place your object on a neutral background so that the scanner can more easily detect its shape.
The EINSTAR scanner allows you to adjust settings depending on the object's size and surface. Starting with default options is perfectly fine for your first few scans. Over time, you'll get a feel for which settings work best for your projects.
Practice Makes Progress
The more you use the EINSTAR 3D scanner, the more comfortable you'll become with its capabilities. Don't worry if your early scans aren't perfect. It's all part of the learning curve. Try scanning the same object from different angles or adjusting your distance to see how it changes the results. As you gain experience, you'll develop your own workflow and preferences.
Moving Toward 3D Printing and Beyond
Once you're happy with a scan, the EINSTAR software lets you export your model into formats that work with common 3D design or printing programs. Whether you plan to clean up the model in editing software or send it directly to your 3D printer, the scanner fits neatly into a wide range of creative workflows.
Conclusion
Getting started with the EINSTAR 3D scanner doesn't require a technical background, it just takes curiosity and a willingness to explore. We're here to support creators who want a reliable, approachable tool for their scanning needs. With a little practice, the EINSTAR scanner can become a trusted part of your toolkit.


Share:
What to Consider When Choosing a 3D Scanner Store and Why EINSTAR Fits Consumer Needs
What Makes the SHINING 3D EINSTAR a Practical Choice for Personal and Studio Use