


At EINSTAR, we are passionate about enabling creativity and innovation through our range of 3D scanning solutions. Our EINSTAR 3D scanner is designed with consumer and small studio needs in mind. Here, we share some useful tips and tricks to help you get the reliable results from your EINSTAR 3D print scanner.

Prepare Your Scanning Environment
Creating an optimal environment for using your EINSTAR 3D scanner is a key step for successful scanning results. A clutter-free space with good lighting can make a noticeable difference. Ensure that the area is well-lit to reduce shadows on the object being scanned. Avoid direct sunlight, as it may create reflections that interfere with scanning. Additionally, placing the object on a stable surface prevents any unwanted movement during the scanning process. By taking the time to set up your scanning area properly, you set the stage for seamless operation and improved scanning quality.
Know Your Object and Settings
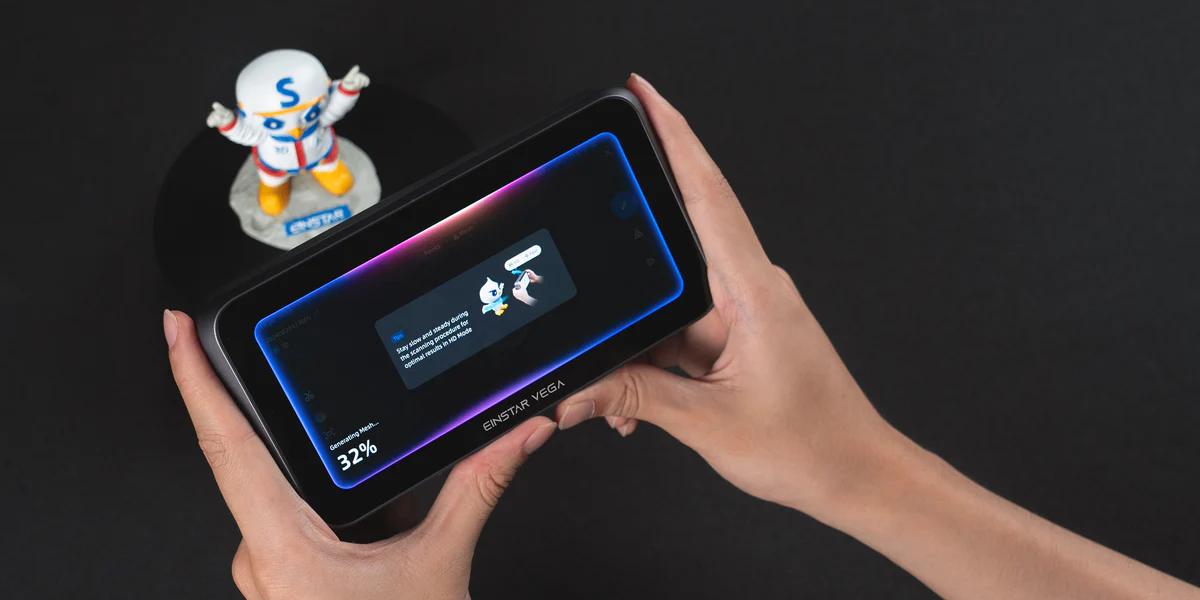
Understanding the characteristics of the object you intend to scan is crucial when utilizing the EINSTAR 3D scanner. Different shapes, sizes, and textures may require specific adjustments to achieve optimal results. For instance, smooth or shiny surfaces may reflect light and affect the scanning process. When using your 3D print scanner, experiment with various settings such as resolution and distance to determine what works reliable for the object you are scanning. Familiarizing yourself with the scanner’s software features can also help enhance the overall experience, leading to high-quality scans tailored to your unique projects.
Post-Processing for Enhanced Results
Once the scanning process is complete, the next step involves post-processing your scans to achieve the desired output. Many users find that refining their 3D models enhances the end product significantly. Utilizing software tools available alongside the EINSTAR 3D print scanner allows for editing, cleaning, or enhancing details that may have been missed during the scanning process. This attention to detail can transform your initial scan into a more polished final model, ready for 3D printing or further design work. Taking time to refine your models can elevate your project and help ensure a satisfying outcome.
Conclusion
In conclusion, getting the most out of your EINSTAR 3D scanner involves careful preparation, understanding your objects and settings, and dedicating time to post-processing. These tips can guide you toward achieving high-quality scans that truly reflect your creative vision. As you explore the capabilities of your EINSTAR 3D print scanner, remember to embrace experimentation and enjoy the journey of 3D creation. With a bit of practice and patience, you will find that the possibilities are endless.
Share:
Discovering the Potential of 3D Scanners with EINSTAR
Discovering the Potential of 3D Scanners with EINSTAR