


In the previous blog, we discussed the features of some objects that are challenging to scan with consumer-grade 3D scanners, including things with high reflectivity, featureless texture, complex geometry, and our main character today, dark and shiny objects.
Then, in this blog, we will specify why these feature-rich objects are hard to scan, and are there any tips that our EINSTAR 3D scanners users can follow to get the optimal results? Scroll down to get started!
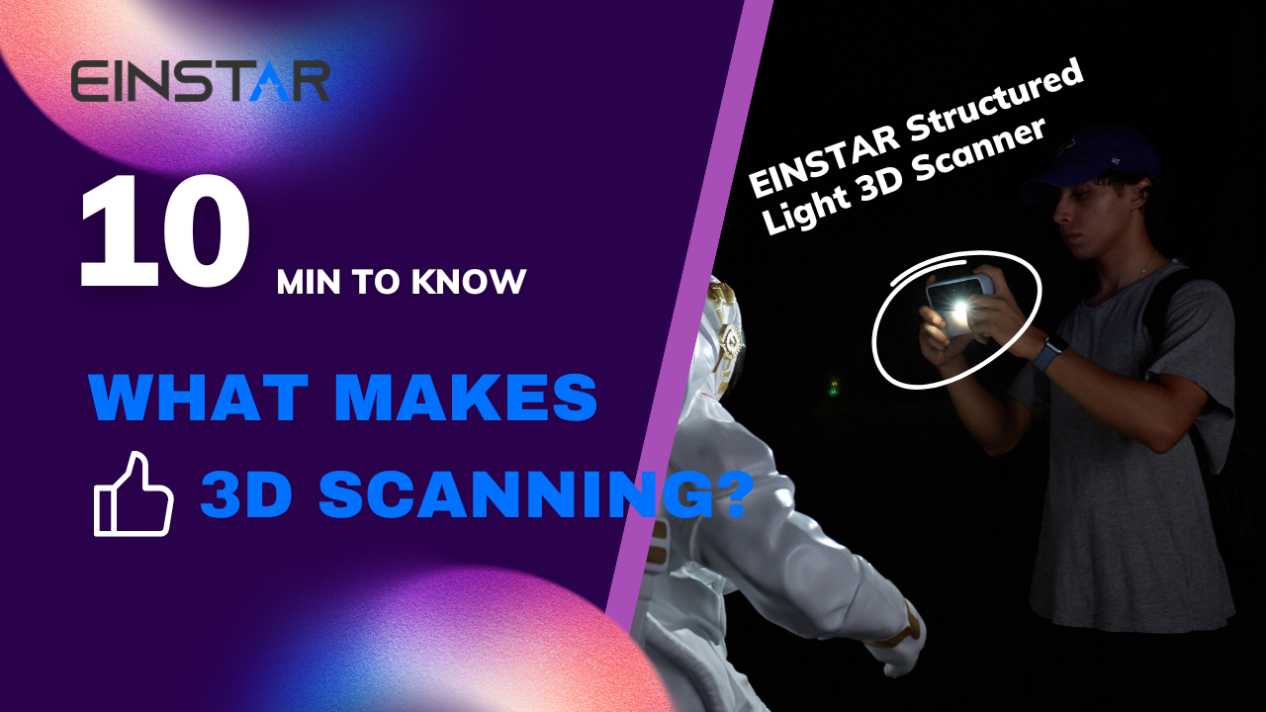
How Does the EINSTAR 3D Scanner Work?
The EINSTAR is a structured light 3D scanner that captures high-precision scans by projecting a controlled pattern of light onto an object. As the light pattern hits the surface, the scanner’s cameras record the way the pattern bends and distorts across the object’s contours.
By analyzing these distortions, the system calculates the exact 3D coordinates of each point on the surface, generating a dense point cloud. This point cloud is then processed into a 3D model.
This method ensures fast, high-resolution scans—but as with all structured light scanners, performance depends on how well the surface reflects light. That’s why dark and shiny objects require special techniques, which we’ll cover next.
Why Are Dark & Shiny Objects Difficult to Scan?
Let’s get to know what structured light 3D scanners prefer. Congrats to the object with an opaque, matte white surface.
For most 3D scanning technologies, the best color for achieving high-quality, accurate scans is matte white. This color provides the highest contrast for the scanner’s projected light, minimizes reflections, and avoids absorption, all of which contribute to cleaner, more precise scan data. So, on top of this, let’s probe why the dark and shiny surfaces are hard to scan.
1. Dark Surfaces Absorb Structured Light
Structured light scanners rely on light reflection. If a surface is too dark (especially matte black), it absorbs most of the projected light instead of reflecting it back to the scanner’s cameras. This results in weak or missing data, causing holes or inaccuracies in the scan.
2. Shiny/Reflective Surfaces Scatter Light
Glossy, metallic, or mirrored surfaces reflect light unpredictably, creating glare or overexposed spots. Instead of deforming projected patterns in a controlled way, the scanner picks up scattered light, leading to noise, distortions, or "floating" artifacts in the 3D model.
Challenging≠Can’t: Step-by-Step Guide on Scanning Shinny and Dark Objects with EINSTAR 3D Scanner.
Video: How to Scan Challenging Objects
|
Challenge |
Key Issues |
Top Tips |
|
Shiny Objects |
Reflections, glare, noise |
Matte spray, polarizing filters, angled scanning, controlled lighting, post-processing |
|
Dark Objects |
Light absorption, weak data |
Light powder/spray, adhesive markers, increased sensitivity, blue/IR light, post-processing |
1. Prepare the Object and Environment
Clean the Object: Remove dust, fingerprints, and oils from the surface to prevent artifacts.
Apply Scanning Spray: For shiny or dark surfaces, use a matte, temporary scanning spray to create an even, non-reflective coating. This helps the scanner capture accurate data by diffusing reflections and increasing surface visibility.

Use Reflective Markers (if needed): Place reflective stickers or markers on the object, especially if it has large, featureless areas. These markers help the scanner maintain tracking and alignment during the scan.
Control Lighting: Scan in a well-lit but diffused environment. Try to avoid direct or harsh lights that could cause glare or shadows. Soft, even lighting minimizes additional reflections and improves scan quality。
2. Set Up the EINSTAR 3D Scanner
Access the camera settings by clicking the sound icon on the left side of the screen. Adjust the exposure level bar until the camera preview shows a slight reddish tint. This indicates optimal exposure for capturing clear and complete scan data.
For black objects, it is recommended to increase the exposure level to the maximum to ensure the scanner collects as much information as possible.

3. Scan the Object
Positioning: Hold the scanner at the recommended distance (optimal for EINSTAR is 400mm) and at a slight angle to the surface, especially for shiny areas. Angled scanning helps diffuse reflected light and reduces glare.

Multiple Angles: Move around the object smoothly, capturing it from various viewpoints to ensure complete coverage. Consider using a turntable for systematic scanning.
Monitor Data Quality: Use the software’s real-time feedback to check for missed areas or tracking loss. If tracking is lost, return to the last known position and resume scanning.
Rescan Problem Areas: If some regions are underexposed or overexposed, rescan from different angles or adjust the scanner’s settings as needed
4. Post Processing
Import Scan Data: Load the captured point cloud or mesh data into the EINSTAR software or compatible mesh editing software.
Clean and Refine: Remove noise, fill holes, and smooth surfaces. Use mesh editing tools to correct errors and optimize the model.
Mesh Type Selection: Choose between watertight (fully enclosed, best for 3D printing) or unwatertight meshes (for further editing or inspection). If color data was captured, enhance or correct the texture mapping as needed.

Give it a Shot!
Join the EINSTAR community, let’s find the key to the door for scanning challenging objects.
コメントを書く
全てのコメントは、掲載前にモデレートされます
このサイトはhCaptchaによって保護されており、hCaptchaプライバシーポリシーおよび利用規約が適用されます。