









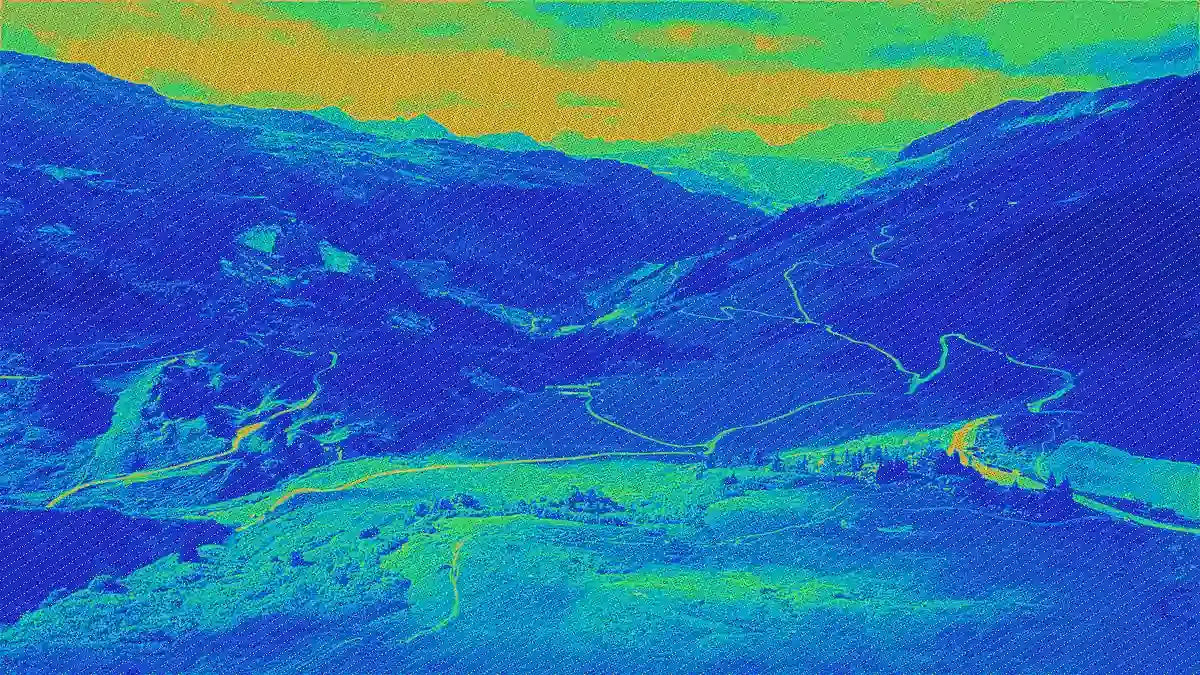
Give photogrammetry a random folder of snapshots, and it will struggle. Give it a careful set of overlapping photos, and it can turn a real object, building, or landscape into a 3D model you can view, measure, and share.
So, what is photogrammetry? It is a method for extracting measurements and 3D shape from photographs. The camera captures visual detail. The software compares those images from different viewpoints and rebuilds depth from the matches.
This guide explains how photogrammetry works, where it fits, how to shoot better image sets, and when 3D scanning is the better choice.
What Is Photogrammetry?
Photogrammetry uses multiple photos to measure and rebuild the shape of a real object, site, or landscape. The photos need to overlap, because the software looks for the same details from different angles and uses them to calculate 3D position.
Depending on the project, the result may be a point cloud, mesh, textured 3D model, orthomosaic, digital elevation model, or map-ready dataset. A drone survey might produce a terrain model. An artifact or product project might produce a textured 3D mesh.
You may also see the word photogrammetric. It simply describes work that uses photos for measurement or 3D reconstruction. A photogrammetric workflow is not just taking pictures; camera position, overlap, scale, and processing all affect the final result.
That is why capture quality matters. Photogrammetry is easy to try, but not always easy to get right. Smooth walls, shiny metal, glass, transparent materials, moving subjects, and poor lighting can all cause problems.

How Does Photogrammetry Work?
So, how does photogrammetry work in practice? The software compares overlapping photos, finds the same details from different viewpoints, calculates where those details sit in 3D space, and uses that information to build a model.

Capture Overlapping Photos
The work starts while you are shooting, not after you open the software. Every important part of the object or scene needs to appear in several photos from nearby angles. For a small object, that may mean shooting in two or three rings around it. For a building, it may mean capturing the facade from different heights and positions. For drone mapping, it usually means a planned flight path with consistent overlap.
The subject should stay still. Moving people, shifting shadows, water, smoke, reflective glare, and moving foliage can all make image matching less reliable.
Match Visual Features
Next, the software searches for details that appear across multiple images: corners, texture patterns, cracks, labels, surface marks, or small changes in shape.
This is why rough stone, brick, terrain, sculptures, and textured props often work well. A plain white wall or glossy plastic part gives the software fewer reliable features to match.
Reconstruct a 3D Model
After the software finds enough matching features, it estimates camera positions and calculates depth. Many photogrammetry workflows first generate tie points or a sparse point cloud, then use depth maps, a dense point cloud, or other reconstruction data to create a mesh.
The exact reconstruction path depends on the software and project settings. After the mesh is built, photo texture can be projected onto the model to create a textured 3D result.
Add Scale and Texture
Photos can describe shape and proportion, but they do not automatically guarantee real-world scale. If the model needs to be measured, use scale bars, coded targets, known distances, camera calibration, ground control points, or survey data.
Texture is one of photogrammetry's strengths. Because the surface color comes from real photos, the final model can look natural and detailed, especially for cultural heritage, environments, props, terrain, and exterior structures.
What Is Photogrammetry Used For?
Photogrammetry is used when photos can help document, map, measure, visualize, or rebuild something from the real world.
Common uses include:
- Surveying and mapping: creating orthomosaics, terrain models, site records, and volume estimates.
- Architecture and construction: documenting buildings, facades, job sites, existing conditions, and progress.
- Cultural heritage: preserving artifacts, monuments, statues, ruins, and historic buildings.
- Film, games, and AR/VR: turning real objects and places into textured 3D assets.
- Agriculture and forestry: supporting land records, crop monitoring, vegetation analysis, and terrain review.
- Mining and earthworks: tracking site changes and estimating stockpile volumes.
- Forensics and accident reconstruction: recording scenes as measurable visual records for later review.
- Education and research: creating 3D references for teaching, analysis, and presentation.
Photogrammetry is especially useful when appearance matters. If the job calls for realistic texture, color, and visual context, photos can capture details that are hard to recreate by hand. That is why it is widely used in heritage documentation, mapping, gaming, film production, digital twins, and site visualization.
Benefits and Limitations of Photogrammetry
Photogrammetry is easy to try, but it is not a shortcut around careful capture. A strong photo set can produce a detailed, realistic model. A weak one can leave holes, warped surfaces, noisy geometry, or a model that looks better than it measures.
What photogrammetry does well:
- Easy entry: many projects can start with a camera, drone, or smartphone.
- Realistic texture: because the model is built from photos, color and surface detail can look very natural.
- Large-area capture: drone workflows are useful for roofs, land, facades, job sites, and landscapes.
- Flexible outputs: the same project may support maps, point clouds, meshes, textured 3D models, or reports.
- Lower hardware barrier: the starting equipment can be simpler than a professional 3D scanning setup.
Where photogrammetry can struggle:
- Accuracy control: photo quality, overlap, scale references, camera calibration, and processing settings all affect the result.
- Difficult surfaces: smooth, shiny, transparent, or repetitive surfaces may not reconstruct cleanly.
- Scene movement: moving subjects, shifting shadows, glare, water, smoke, and vegetation movement can confuse image matching.
- Processing time: large photo sets can take time to process, review, and clean.
- Measurement risk: a model can look realistic but still be unreliable for measurement.
How accurate is photogrammetry depends on the capture setup, not just the software. A quick phone-based model may be fine for visualization, while a controlled aerial or close-range project with calibrated cameras, scale references, targets, or ground control can be much more reliable.
How to Take Photos for Photogrammetry
If you want to learn how to do photogrammetry well, spend more attention on capture than software settings. Good photos make the software look smart. Bad photos make even good software guess.
Use Enough Photo Overlap
For small objects, move around the subject in smooth, organized passes. For sites or buildings, shoot in rows or planned paths instead of grabbing random angles.
The first rule of how to take photos for photogrammetry is overlap. Each image should share enough detail with the images before and after it so the software can match features reliably. Recommended overlap varies by software, subject, and capture type. Drone mapping projects often use high front and side overlap, while difficult subjects such as low-texture, reflective, complex, or accuracy-sensitive surfaces may need even more deliberate coverage.
Keep Lighting Consistent
Soft, steady lighting usually works better than harsh light. The software needs to recognize the same surface from photo to photo, so strong glare, deep shadows, and changing exposure can cause trouble.
For indoor work, use stable lighting. For outdoor work, overcast conditions can be easier than direct midday sun.
Avoid Blur and Reflections
Blur removes the fine detail photogrammetry needs. Keep the camera steady, use a fast enough shutter speed, and check focus as you shoot.
Reflective and transparent surfaces are harder because they change appearance from one angle to the next. If the object is glossy, clear, or metallic, you may need surface preparation or a different capture method.
Capture Multiple Angles
A single loop around the subject is rarely enough. Capture the top, sides, edges, recesses, and any important details. For small objects, shoot from several heights. For buildings, add oblique angles so vertical surfaces and corners are covered.
The goal is not just more photos. The goal is complete coverage.
Use Scale References When Accuracy Matters
If the model needs real-world dimensions, include scale. Use a scale bar, coded targets, measured distances, ground control points, or survey control depending on the project.
Without scale references, a photogrammetry model may look convincing but still be unreliable for measurement.
Photogrammetry vs 3D Scanning: When Should You Use Each?
When people compare photogrammetry vs 3D scanning, the right choice usually comes down to scale, surface detail, and what the model needs to do after capture.
In this comparison, "3D scanning" mainly refers to handheld optical 3D scanners used for object-level capture, rather than long-range terrestrial or airborne LiDAR systems.
Choose the Right Capture Method
| Project Scenario | Better Fit |
|---|---|
| Outdoor mapping, roofs, terrain, large sites, or texture-heavy scenes | Photogrammetry |
| Indoor object capture, small parts, sculptures, prototypes, or body scans | 3D scanning |
| Realistic color and visual texture matter more than measured geometry | Photogrammetry |
| Accurate shape, object detail, and capture control matter more | 3D scanning |
| The next step is mapping, site visualization, or textured asset creation | Photogrammetry |
| The next step is mesh editing, measurement, inspection, CAD, reverse engineering, or 3D printing | 3D scanning |
For outdoor scenes and large-area documentation, photogrammetry can still be a strong choice. For indoor objects, smaller subjects, and projects that need more controlled surface measurement, EINSTAR 3D scanners offer a more practical path.
A Closer Look at EINSTAR 3D Scanners
EINSTAR is powered by SHINING 3D, a company focused on 3D digitizing and 3D scanning technology. The EINSTAR line is built for practical handheld 3D scanning, helping users capture real objects as usable 3D data for modeling, measurement, visualization, 3D printing, and reverse engineering.

For indoor projects and small-to-medium objects, a 3D scanner can usually provide more direct geometry capture than a photo-only workflow. That matters when the object has weak texture, fine details, tight angles, or when the final model needs to be measured or edited. For users who also need outdoor or field scanning, EinScan Rigil adds stronger laser-based performance and outdoor adaptability.
| Spec Focus | EINSTAR Rockit | EINSTAR VEGA | EinScan Rigil |
|---|---|---|---|
| Capture technology | Laser HD and IR Rapid modes | HD Mode with infrared MEMS; Fast Mode with infrared VCSEL | Laser HD and IR Rapid modes |
| Detail and geometry | Laser HD resolution down to 0.05 mm; minimum scan volume 5 x 5 x 5 mm | HD point distance down to 0.05 mm | Laser HD resolution down to 0.05 mm; volumetric accuracy up to 0.04 + 0.06 mm/m |
| Alignment and control | Marker, feature, texture, and hybrid alignment depending on mode | Feature, texture, marker, and hybrid alignment; built-in screen for standalone scanning | Global marker, marker, feature, texture, and hybrid alignment depending on mode |
| Color capture | 5 MP texture camera | 48 MP color camera | 5 MP texture camera |
| Portability and environment | 425 g with batteries; compact handheld design | 535 g regular edition; wireless all-in-one scanning and outdoor scan support | Tri-mode workflow with wireless standalone, wireless PC, and wired PC modes; designed for demanding field and outdoor scanning |
| Output formats | STL, OBJ, PLY, 3MF, ASC | PLY, STL, OBJ, ASC | STL, OBJ, PLY, 3MF, ASC |
In short, Rockit is a strong fit for compact indoor object scanning. VEGA is better for users who want a wireless all-in-one scanning experience. Rigil is built for more demanding laser scanning projects, especially when users need stronger geometry control, field flexibility, and outdoor scanning support.
FAQ
Still comparing capture methods? These quick answers cover the questions that usually come up when beginners start using photogrammetry in real projects.
Q1: What Is Aerial Photogrammetry?
What is aerial photogrammetry? It is photogrammetry captured from above, usually with a drone, aircraft, or satellite imagery. It is commonly used for maps, terrain models, construction progress records, agriculture, mining, forestry, and infrastructure documentation.
Q2: Which is more accurate, 3D scanning or photogrammetry?
3D scanning is often easier to control for object-level accuracy, especially for small parts, inspection, reverse engineering, and 3D printing. Photogrammetry can also be accurate when the photos are well planned, scaled, calibrated, and processed correctly.
Q3: Does Photogrammetry Create a Point Cloud?
Yes. Many photogrammetry workflows first generate tie points or a sparse point cloud, then use depth maps, a dense point cloud, or other reconstruction data to build a mesh or textured model.
In some software workflows, the mesh can also be generated directly from depth maps, so the exact process depends on the software and project settings.
Q4: Can Photogrammetry Be Used for 3D Scanning?
Not exactly. Photogrammetry is a 3D capture method, but it is not usually called 3D scanning in the strict hardware sense. It creates 3D data from photos, while 3D scanning typically uses dedicated hardware to measure shape more directly.
Conclusion
In this guide, we've explained what is photogrammetry, how photos become 3D models, where the method works well, and why overlap, lighting, texture, and scale matter. Photogrammetry is strongest when the subject has clear visual detail and the goal is realistic texture or large-area documentation.
For outdoor mapping and texture-rich projects, it can be a smart starting point. But when you need more control over geometry, scale, small-object capture, or 3D-print-ready data, a dedicated 3D scanner is often easier to trust. With EINSTAR, users can scan real objects more directly and move from capture to usable 3D models with less trial and error.
Ready to explore easier 3D scanning with EINSTAR?
Share:
What Is a Point Cloud? A Practical Guide to 3D Scanning Data
What Is a 3D Foot Scanner? Applications, Workflows, and Fit Solutions